Install Nari Dia TTS on Windows with Conda
Introduction
Dia is a 1.6B parameter text to speech model created by Nari Labs. Dia capable of generating ultra-realistic dialogue in one pass.
GitHub: https://github.com/nari-labs/dia
Hugging Face: https://hf.co/nari-labs/Dia-1.6B-0626
Demo: https://hf.co/spaces/nari-labs/Dia-1.6B
Prerequisites
System requirements:
- Operating System: Windows 10/11 (64-bit), macOS, or Linux (Debian/Ubuntu).
- Python: version >= 3.10 required
- Disk Space: 10GB+ recommended (for dependencies and model cache). At least 400 MB for Miniconda; 3 GB+ for full Anaconda.
- The GPU is optional but HIGHLY Recommended for Performance
- Internet: For downloading dependencies and models from Hugging Face Hub.
| Environment | Run this Command |
|---|---|
| CPU only | pip3 install torch torchvision |
| CUDA 11.8 | pip3 install torch torchvision torchaudio –index-url https://download.pytorch.org/whl/cu118 |
| CUDA 12.1 | pip3 install torch torchvision torchaudio –index-url https://download.pytorch.org/whl/cu121 |
| CUDA 12.6 | pip3 install torch torchvision torchaudio –index-url https://download.pytorch.org/whl/cu126 |
| CUDA 12.8 | pip3 install torch torchvision torchaudio –index-url https://download.pytorch.org/whl/cu128 |
| CUDA 13.0 | pip3 install torch torchvision torchaudio –index-url https://download.pytorch.org/whl/cu130 |
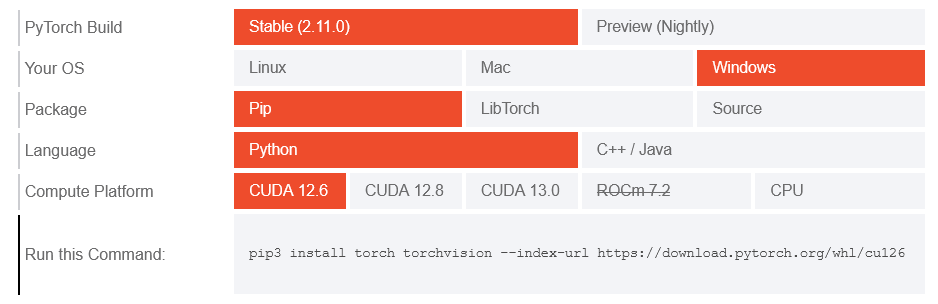
Note: CUDA version check by command
nvidia-smi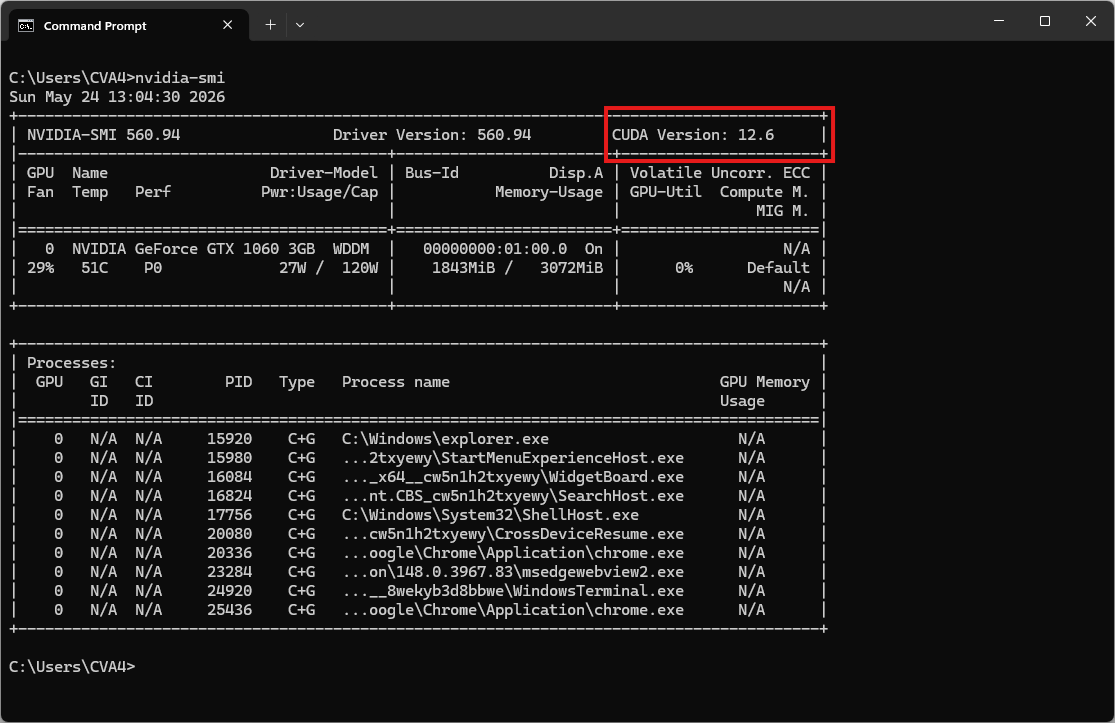
Video tutorial
Coming soon!
Step 1. Install Miniconda Package
Download Miniconda: https://www.anaconda.com/download/success?reg=skipped
Direct link: https://anaconda.com/api/installers/Miniconda3-latest-Windows-x86_64.exe
Step 2. Create Conda Environment
Create a conda environment:
name: dia
channels:
  - conda-forge
  - defaults
dependencies:
  # Python version (requires >= 3.10)
  - python=3.10

  - pip
  - pip:
      # PyTorch CUDA 12.6 wheels
      - --extra-index-url https://download.pytorch.org/whl/cu126
      - torch
      - torchaudio

      # Nari TTS Install Dia directly from GitHub.
      - git+https://github.com/nari-labs/dia.git
Activate conda environment:
conda env create -f environment.yml
conda activate dia
Clone and install Dia from source (run after activating the environment)
git clone https://github.com/nari-labs/dia.git
cd dia
Step 3. Run the Inference
Now, run some examples.
python example/simple.pyThe result will be the audio file simple.wav
Gradio app (web interface)
Try Dia without coding:
python app.pyOpen your browser and navigate to http://127.0.0.1:7860. The system will automatically download the required model weights from HuggingFace during this first run.