Installing Miniconda
What Is Miniconda?
Miniconda is a free minimal installer for Conda. It is a smaller alternative to Anaconda. It includes Python, Conda, and essential dependencies.
With Miniconda, you can create isolated environments. This helps avoid conflicts between different projects. It is ideal for developers who need flexibility.
Install Miniconda on Windows
To install Miniconda on Windows, follow these 3 main steps: download the installer, run the setup wizard, and verify the installation via the command line.
Step 1. Download the Official Installer
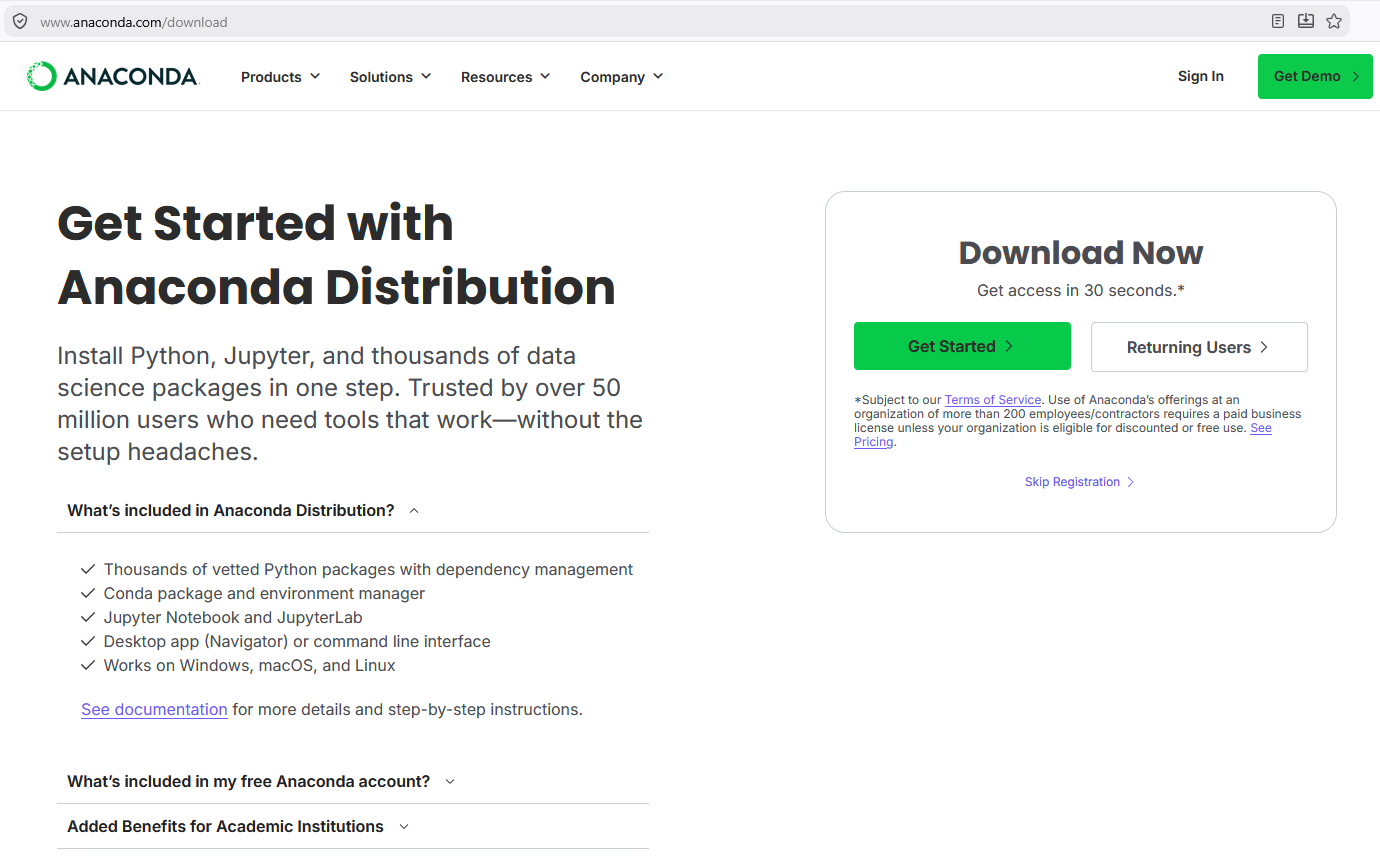
- Navigate to anaconda.com/download, register with Anaconda or Skip Registration
- Choose Your Download
For windows select Windows 64-Bit Graphical Installer under Miniconda.
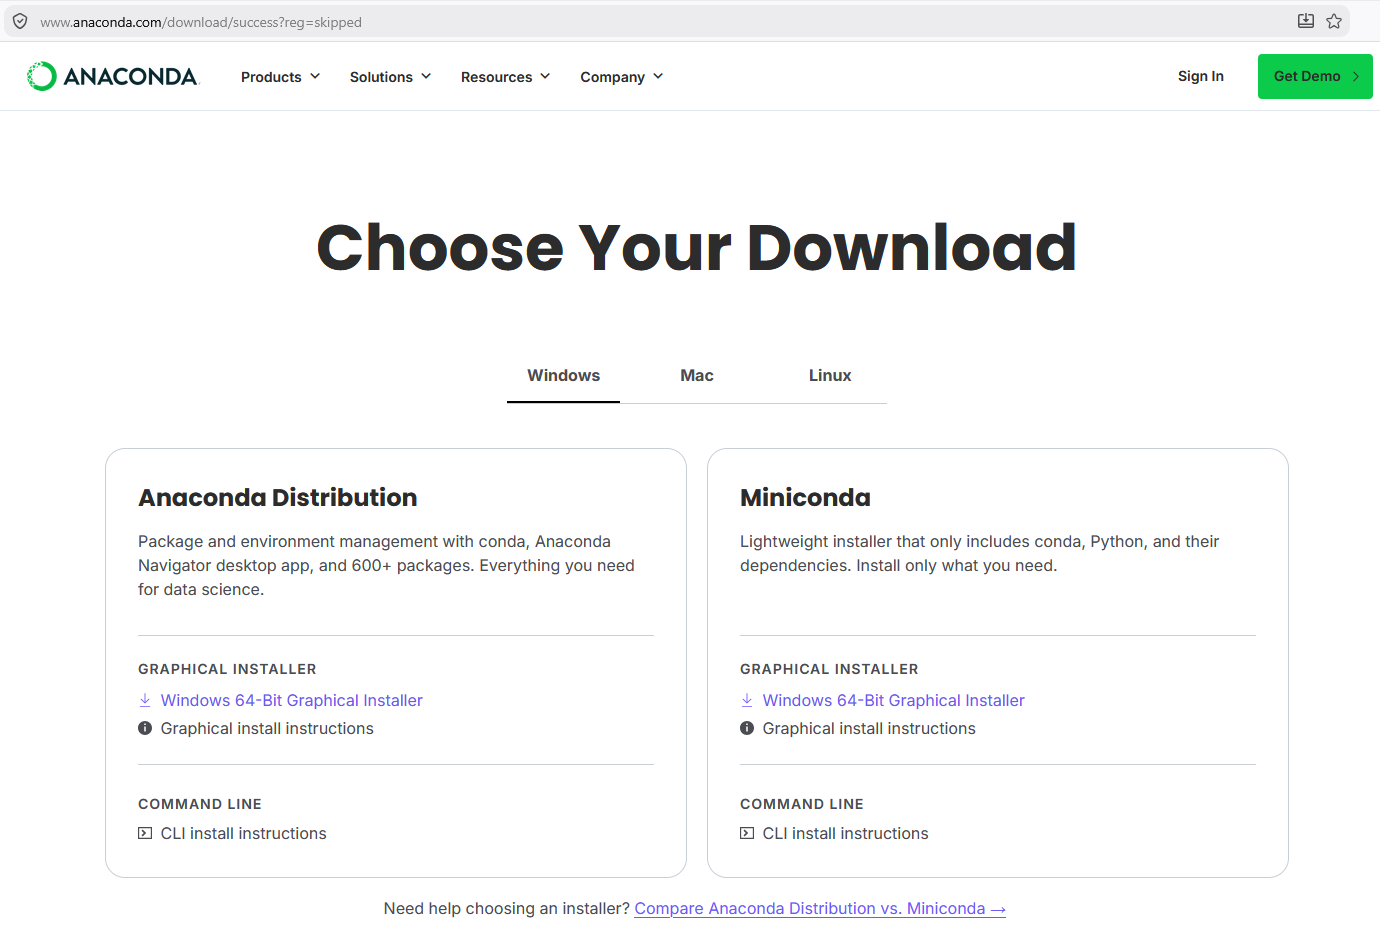
Direct link: https://anaconda.com/api/installers/Miniconda3-latest-Windows-x86_64.exe
Step 2. Run the Installation Wizard
- Go to your Downloads folder and double-click the
.exeinstaller to launch.
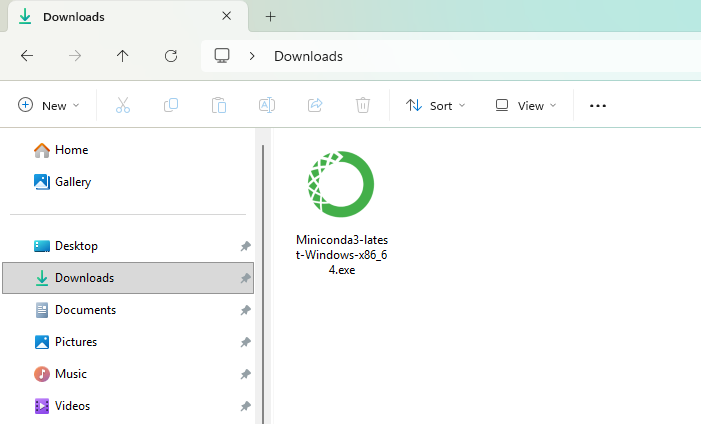
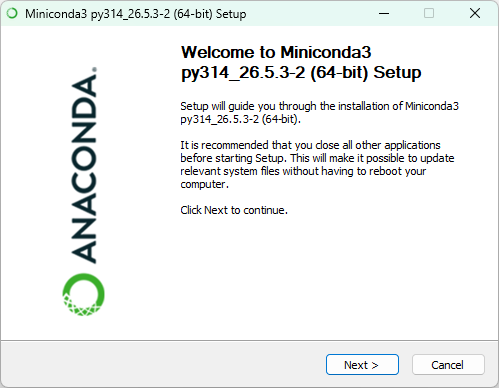
- Click Next.
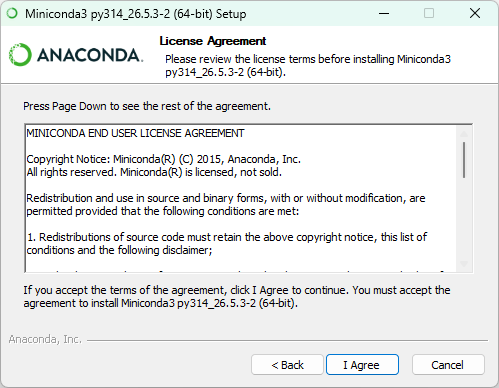
- Read through Miniconda’s End User License Agreement (EULA) and select I Agree to agree to the terms. You can view Anaconda’s Terms of Service (TOS).
- Select an installation option
- Just Me (Recommended): Install only for your current Windows user account. This prevents administrative permission issues.
- All Users: Install for all users accounts on the computer (requires Windows Administrator privileges).
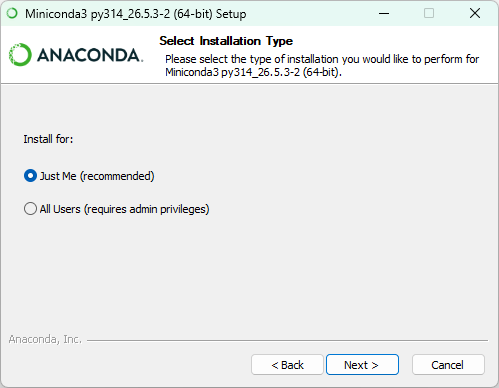
Select Next.
- Select a destination folder to install Miniconda, then select Next.
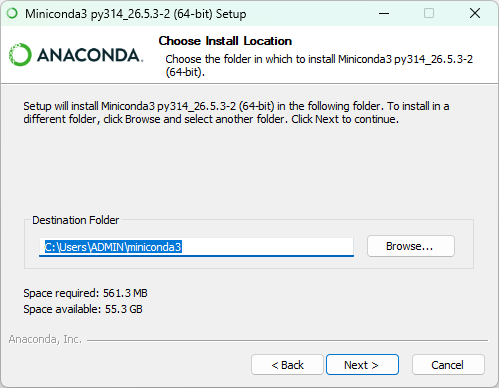
Anaconda recommends installing Miniconda in a directory with no spaces or special characters to avoid potential compatibility issues with open-source tools.
- Customize your installation options
- Create shortcuts: Creates Start Menu shortcuts for the Anaconda Prompt packages. Deselecting this option skips creating these shortcuts.
- Add Miniconda3 to my PATH environment variable: Adds the path that contains the conda binaries to your PATH environment variable. Anaconda does not recommend selecting this option..
- Register Miniconda3 as my default Python 3.14: Selected by default. Registers the Python package in this install as the default Python for programs like VSCode, PyCharm, and so on.
- Clear the package cache upon completion: Runs
conda clean --all --force-pkgs-dirsafter the install finishes. For more information on these commands, see the conda command documentation.
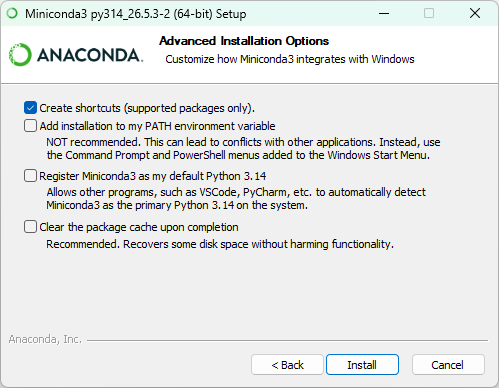
- Select Install. The installation might take a few minutes to complete. Select Show details to view the packages being installed.
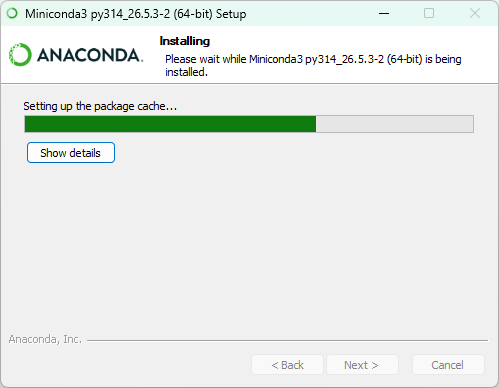
- Select Next twice, then select Finish to close the installer.
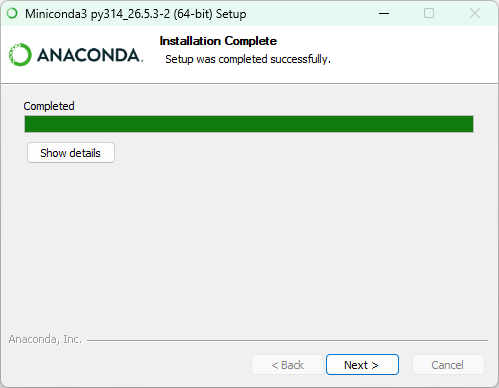
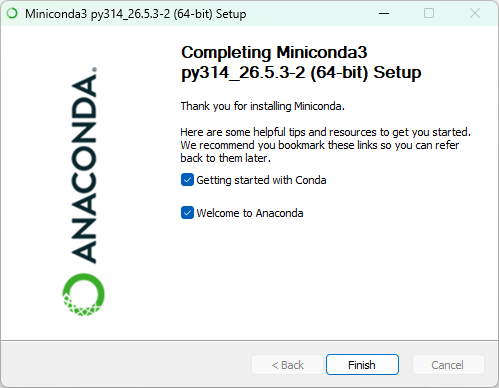
Once you click Finish with those boxes checked, the installer will close and your default web browser will automatically open two official documentation tabs:
- Getting started with Conda: This opens a guide to help you learn basic Conda commands, such as creating environments and installing packages.
- Welcome to Anaconda: This opens a landing page introducing you to the Anaconda ecosystem, its community, and additional cloud resources.
If you do not want these web pages to open, simply uncheck both boxes before clicking Finish.
Step 3: Verify the Installation
To open Anaconda Prompt, type “Anaconda Prompt” in the Windows search bar, then select the application.
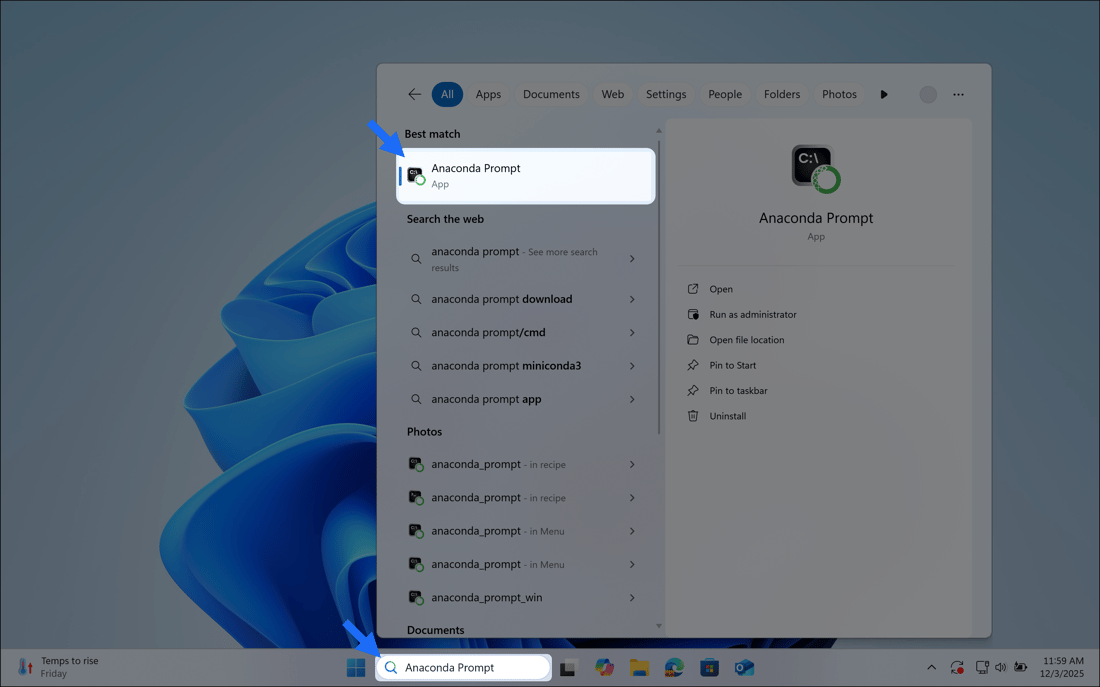
Your window will display something like the following, with your base environment activated by default:
(base) C:\Users\{username>To test if Conda is working by running this command:
conda --version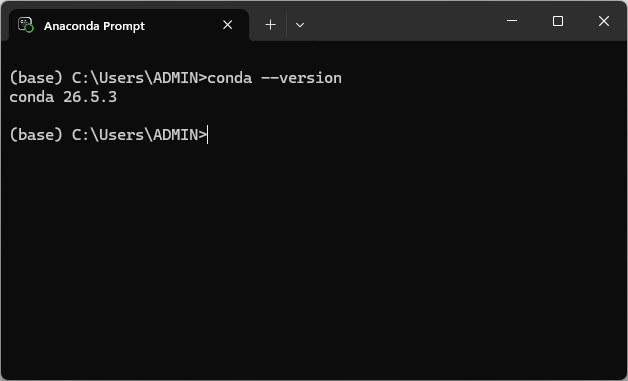
Install Miniconda on MacOS
-
Navigate to anaconda.com/download, register with Anaconda or Skip Registration
-
Choose Your Download: 64-bit (Apple silicon) Graphical Installer under Mac > Miniconda. Direct link: https://anaconda.com/api/installers/Miniconda3-latest-MacOSX-arm64.pkg
-
Go to your Downloads folder and double-click the
.pkgfile to launch. -
Read through Miniconda’s End User License Agreement (EULA) and select I Agree to agree to the terms. You can view Anaconda’s Terms of Service (TOS).
-
Choose an install location
-
Select Install. When the installation finishes, open your terminal application.
Install Miniconda on Linux
Reference: